Decorative Storage Boxes – How To Make Them With Washi Tape
I often feel I’m at my most creative and productive when I’m working in an uncluttered and organized environment, so I’m always on the lookout for functional (but ever pretty) ways to keep the clutter at bay.

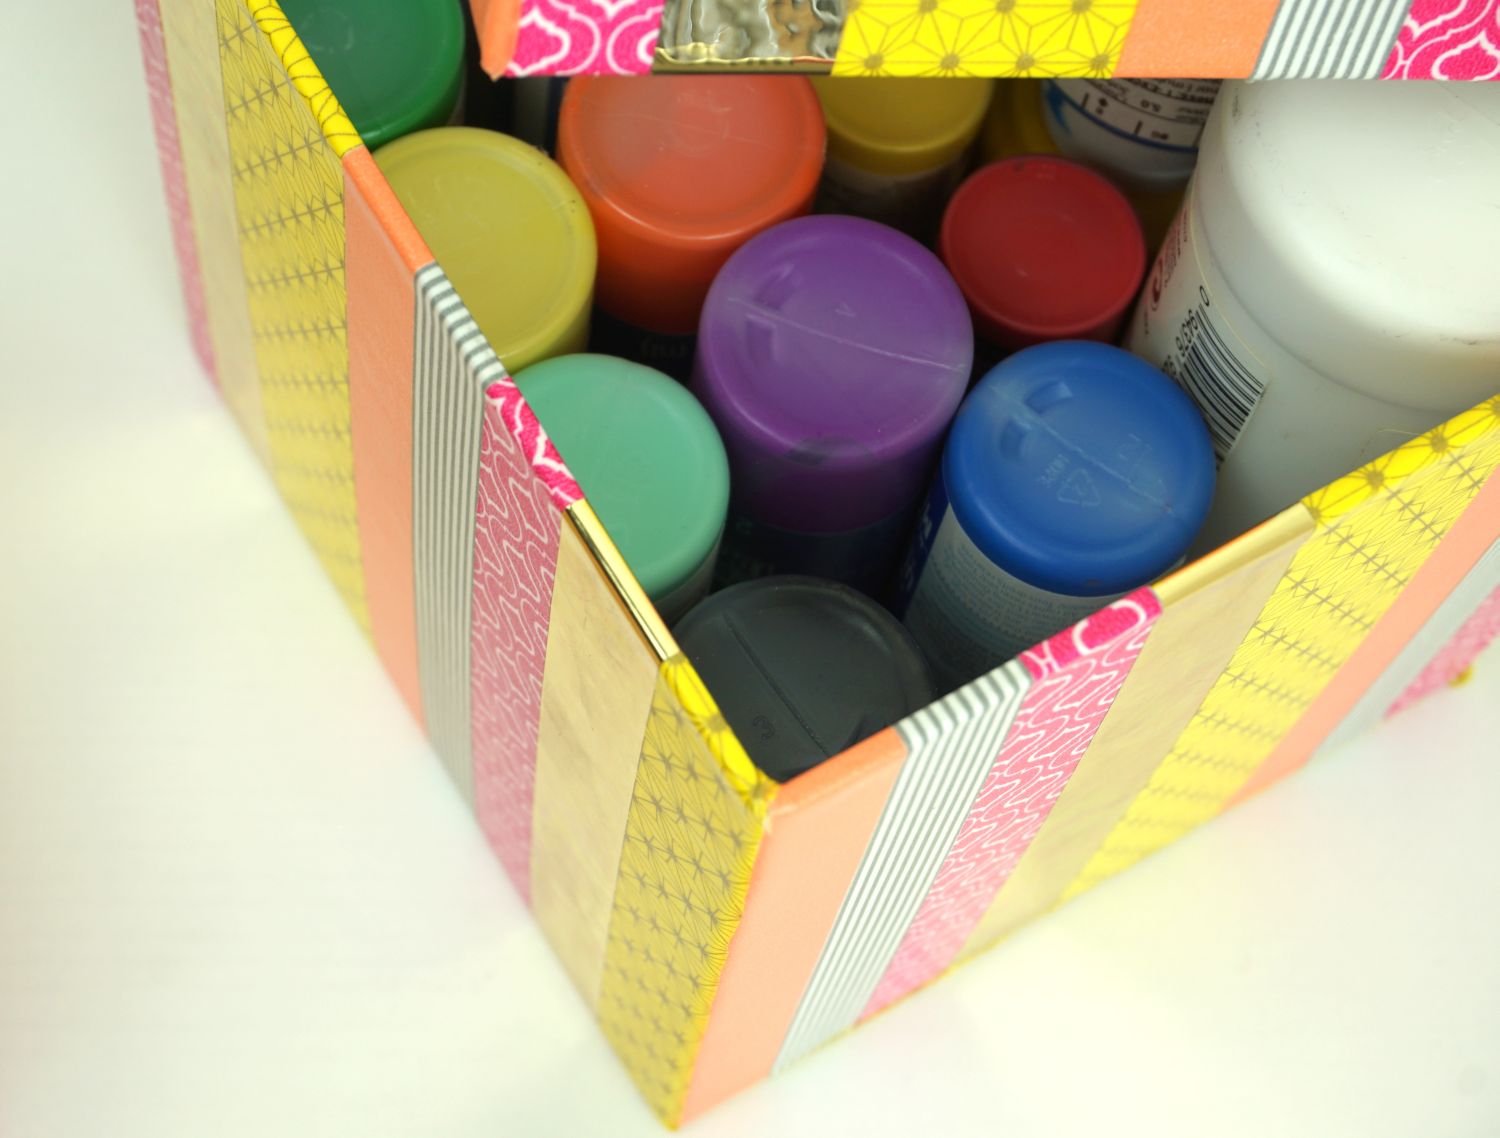
And that’s why I love this washi tape wrapped storage boxes. They’re colorful, easy and affordable to make, and keep all my craft odds and ends stored away. I love them so much, I might make up a few more and use them to wrap gifts–in lieu of wrapping paper.


Materials you’ll need for decorative storage boxes:
- Plain box with lid
- Washi tape in various colors, widths, patterns, and finishes
- Scissors
How to make the decorative boxes:

Step 1: Decide on the colors
Choose the order you’d like the washi tape colors to be applied in. Wrap the first washi tape color horizontally along the top perimeter of the box beginning at one of the corners.

Step 2: Straight
After wrapping the entire perimeter, trim the washi tape strip straight up and down so that it meets the other end and completes the band.

Step 3: Wrapping
Continue wrapping the box with washi tape rows until the box is completely covered.
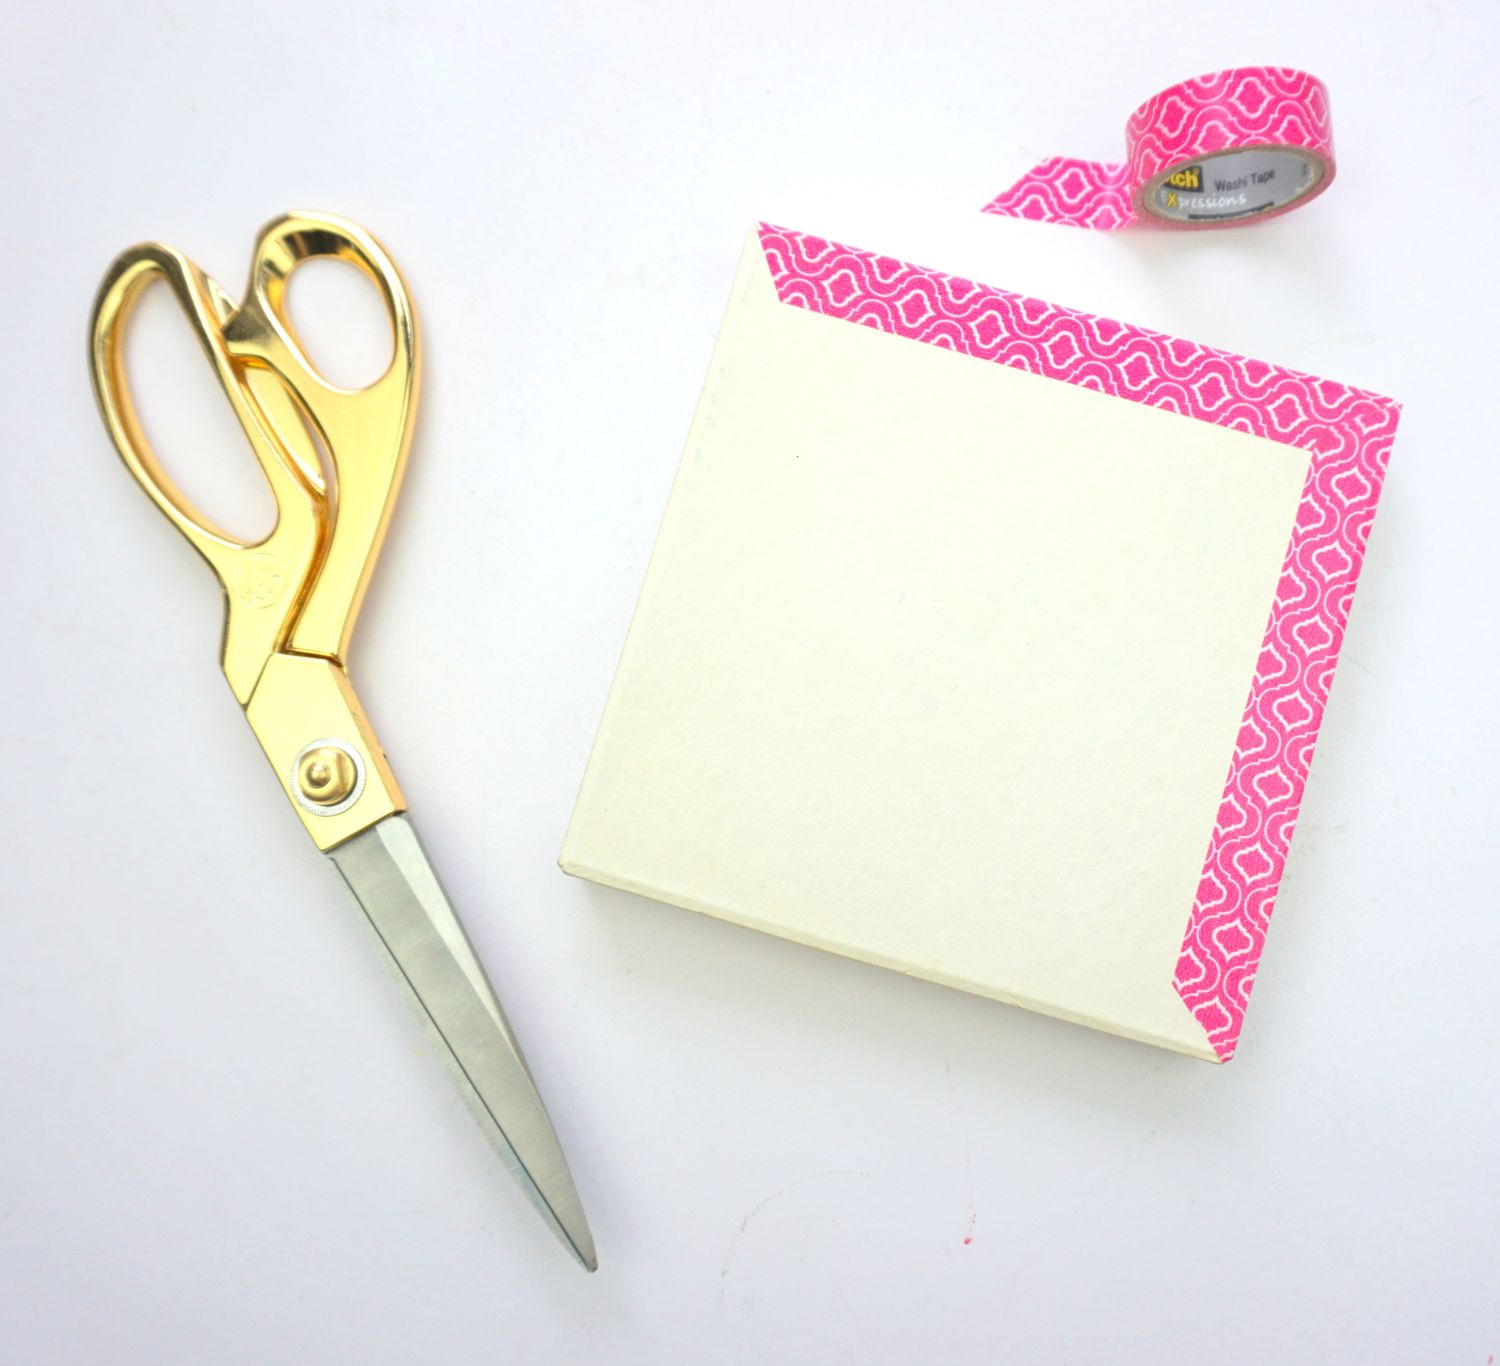
Step 4: Cutting corners
Start on the box top by lining the outer perimeter with washi tape. I cut the corners at 45-degree angles for a cleaner, chamfered look (rather than overlapping the square corners).

Step 5: Center box
Continue working your way into the center of the box top with different colors of tape.

Step 6: Center of the box
When you reach the center, cut a tape square just large enough to cover the center opening, as I did with the yellow washi tape above.

Step 7: Last step
Lastly, line the lip of the box top with another color of washi tape. Finish the end with a vertical cut. Press all tape down firmly.
The post Decorative Storage Boxes – How To Make Them With Washi Tape appeared first on Home Decorating Trends – Homedit.
