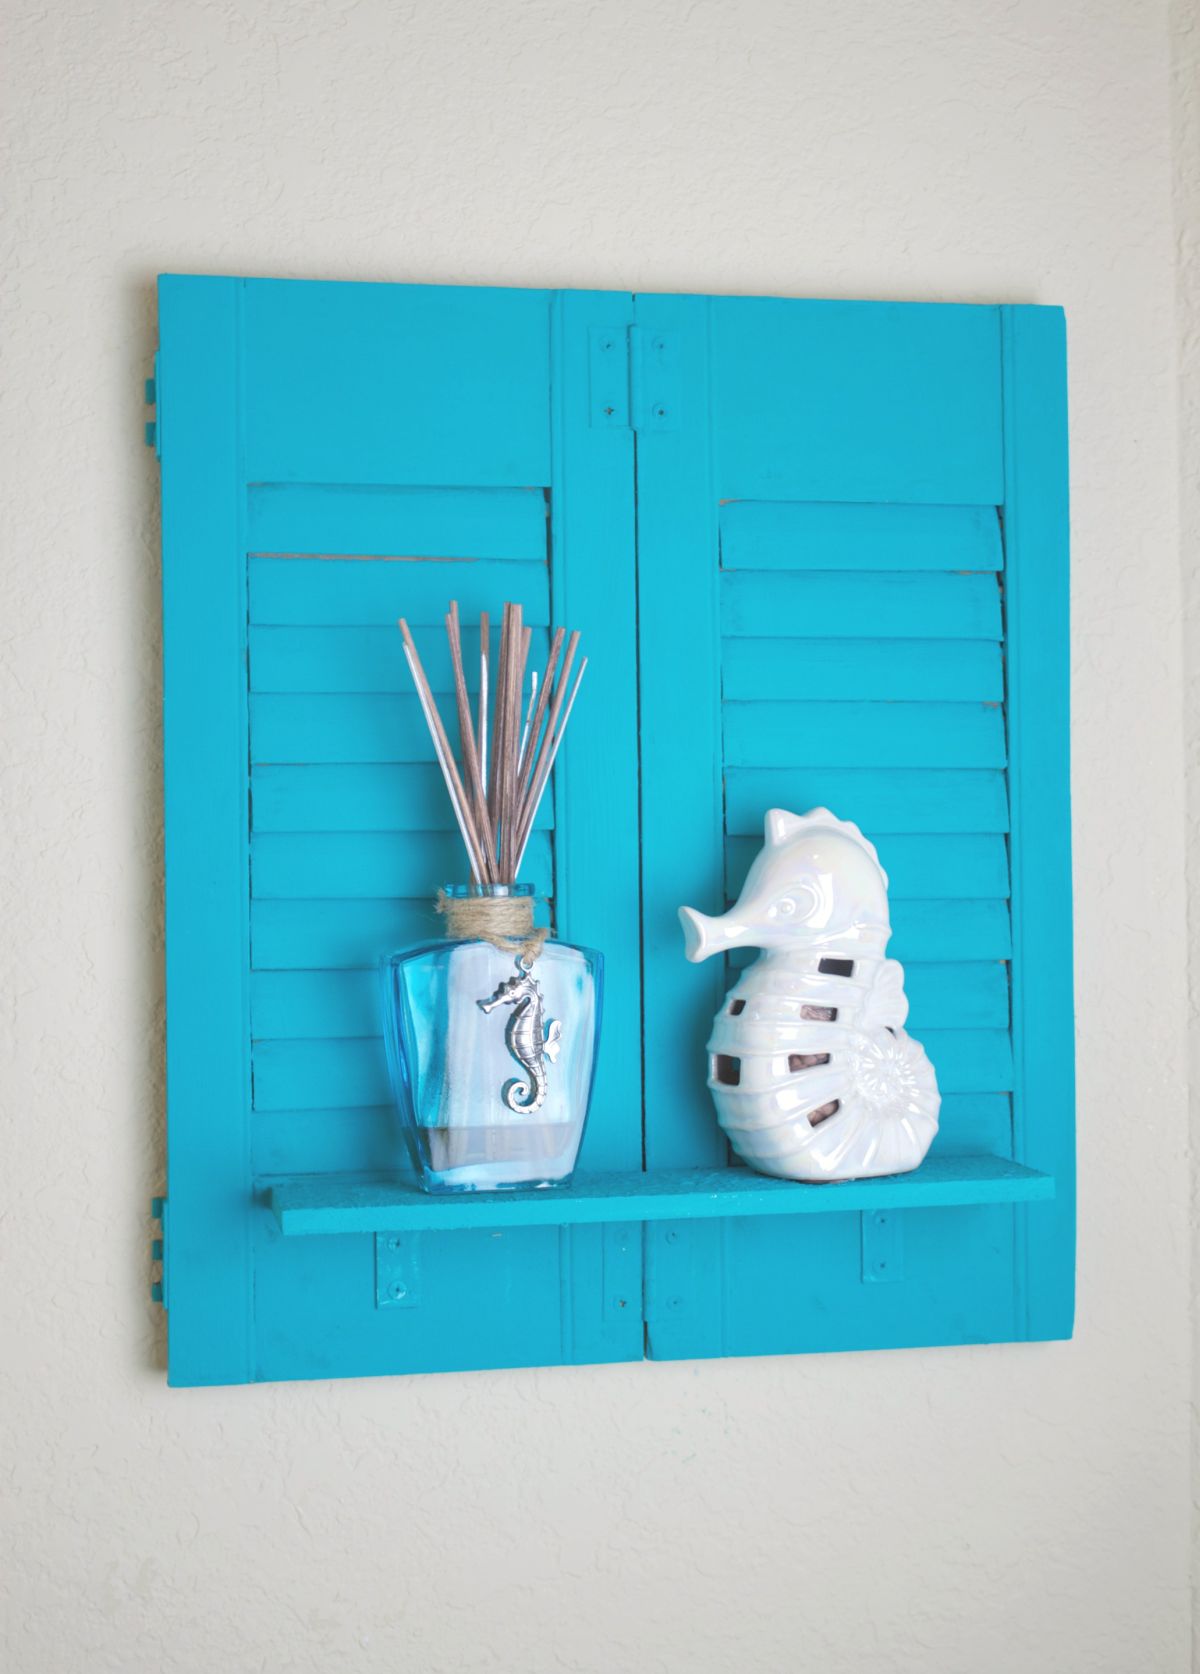
How To Build A Shelf From Wooden Window Shutters
I love to find ways to turn unwanted items into something fresh, new, and functional. I’m always on the hunt at thrift stores and places like Habitat for Humanity to find “stuff” that I can make over.

Wooden window shutters are a great item to buy when you find them because they are usually inexpensive, lightweight, and can be upcycled in many different ways. For this shutter shelf decor project I used mini wood shutters and a craft pallet board, but you can also do this with larger shutters and boards.

Supplies you’ll need to build a shelf:
- Wood shutters (thrift store or flea market)
- Wood pallet board
- Corner Braces
- D-Rings
- Coastal Effects Paint in Turquoise
- Drill or Screwdriver
Step by step process to build a shelf from wooden window shutters:

Step 1: Bottom
Decide where the board will go on the wood shutters to create the shelf. I recommend choosing a place close to the bottom of the shutters so you can easily secure the corner braces. Place the corner braces in the desired spot and use a permanent marker to mark where the holes are.

Step 2: Brakets
Make pilot holes where you marked the holes in step one.
Step 3: Screw the brace
First, screw the corner brace to the pallet board. Then screw the brace onto the shutter. The pilot holes make this process much easier to do!

Step 4: Painting process
Paint the shutters and the shelf with paint. I used a Coastal Texture paint by Plaid Crafts to create an ultra-matte sea inspired finish. Let the first layer dry before adding the second one.

Step 5: Add D rings
Screw the D rings to the back of the shutter. This will help you easily hang your new wall art!


My new shutter shelf complements my DIY wall art nicely. It would look great next to these wood oars, too. Have fun crafting and creating with thrifted items to create your own home decor!
The post How To Build A Shelf From Wooden Window Shutters appeared first on Home Decorating Trends – Homedit.
